
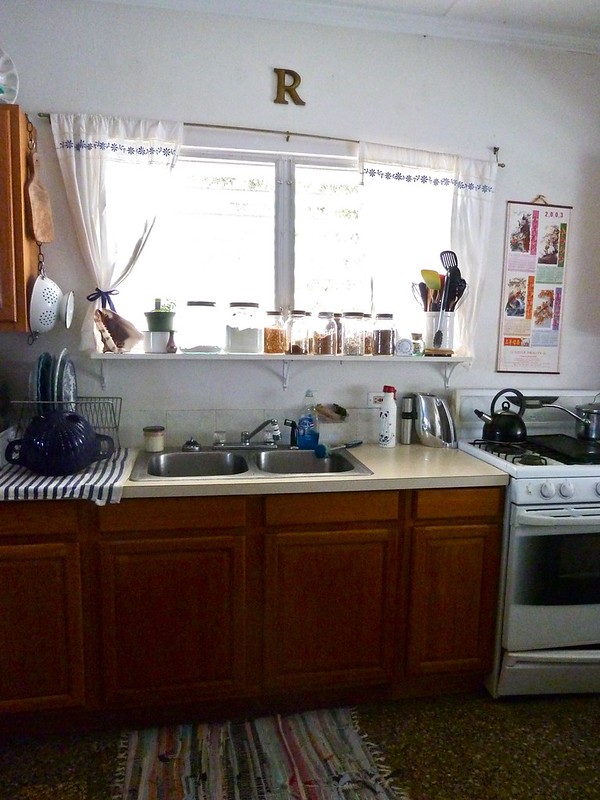
A few weeks ago I spent half a Saturday making some DIY roman shades for the kitchen. Our originally thrown up curtains (still in existence an embarrassing three years later) were from Kmart. You know how the island is. Sometimes you just have to take what you can get. They were awful. They blended into the wall, were always dirty from rubbing up against the screen, had an amazing ability to knock over that utensil holder whenever a strong gust of wind blew in, and I'm pretty sure were going to eventually burn the house down. The right side refused to stay in the bracket. Seth eventually "fixed" it using an old ponytail holder. I know I'm not the only one to let stuff like that go on far too long but it's still embarrassing.
I've made Jenny Komenda's DIY roman shade three times now (she is a DIY genius!). While somewhat time consuming, they're very simple.
You start with simple venetian blinds. On St Thomas you can get them in the $5-10 range at Home Depot.
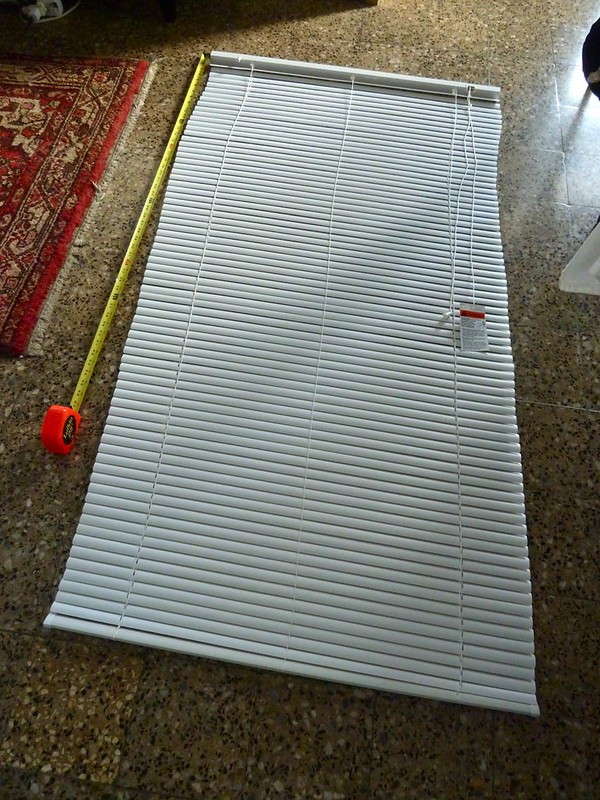
With scissors you carefully remove most of the plastic slats.

Add the fabric and use fabric glue to create a side hem and attach it to the remaining slats. I get all my project fabric at that little fabric and craft store down near Lionel Roberts Stadium. Do you know the one? It's on that one-way road with the bright green house with red railings on the corner (across from Jarvis School annex and the Rasta that sits there and knits all day). They have a little parking lot which is part a large part of why I love it.

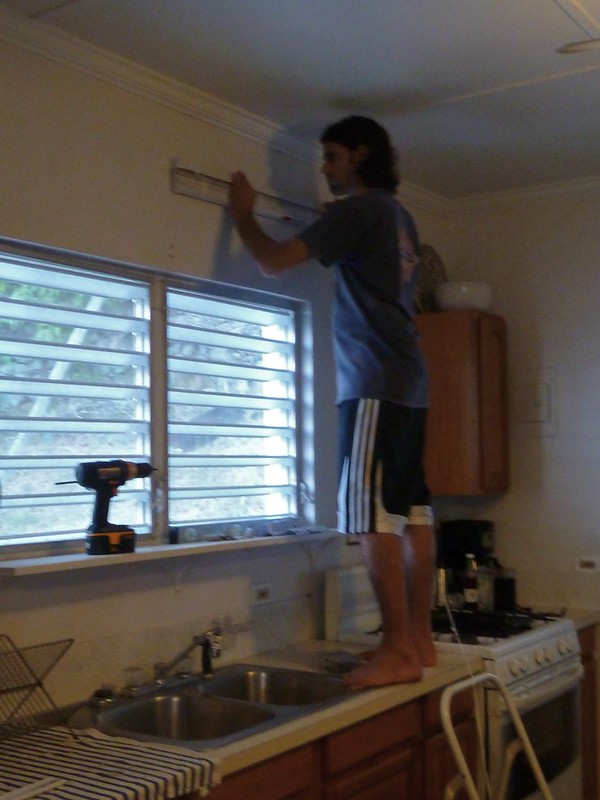
While you've been doing this, hopefully you found someone handy and helpful lounging around your household willing to put up the hanging hardware during halftime. If not, do that yourself now.
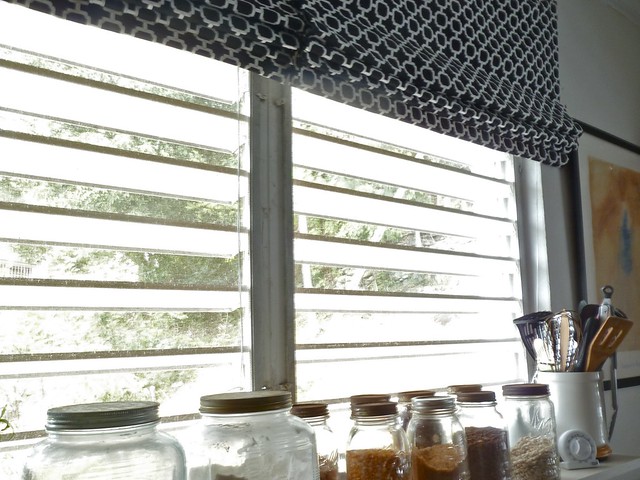
And viola! (Well, let the glue dry a bit and then voila.)
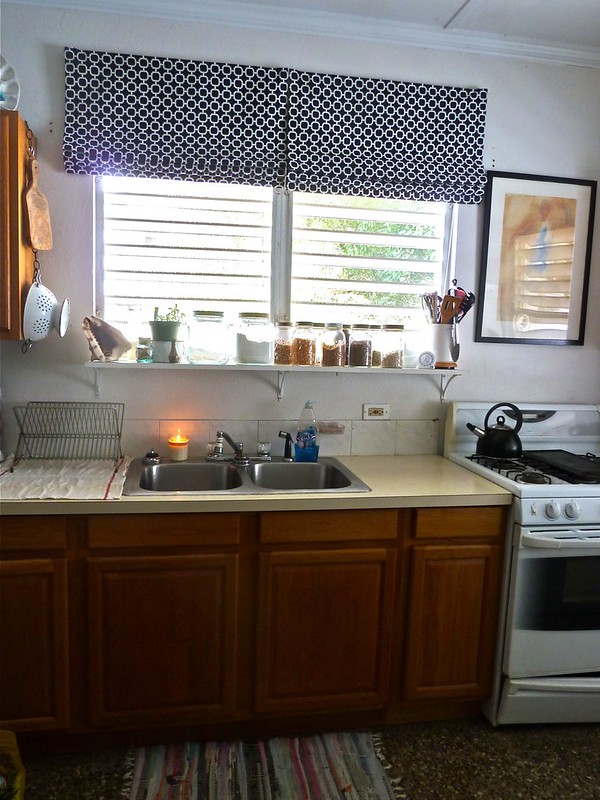
I don't know what it is but I cannot get a decently lit picture in my kitchen at any time of the day. Don't know what to do to remedy that. You get the idea though. They look far better than that mess that preceded them. And I was able to make three of them (there's one more window) for around $35 dollars.
If you're interested in making these for yourself here are the full instructions on Little Green Notebook.
I love this! Great idea for my breakfast table window. Thanks!
ReplyDeleteI'm trying to pin this but I can't! The picture won't appear.
ReplyDeleteI started using flickr to host my pictures last month and they don't seem sharable anymore. Trying to figure it out. I'll let you know.
Deletefixed it!
Deletehow cute! i love that pattern.
ReplyDeletePS - check out the Jack Rogers giveaway on my blog!
It definitely looks so much better! It pops out an elegant style of the kitchen. I have few damaged blinds at home and I wanted to throw them all away because they make a big mess in the storage. I’m happy that I saw your post. Those blinds will be useful again. Thank you for sharing this idea! +Rene Veeravalli
ReplyDeleteThis blog was... how do I say it? Relevant!! Finally
ReplyDeleteI've found something that helped me. Thanks!
Also visit my web site :: medical compensation solicitor