Showing posts with label The Fridge Door Project. Show all posts

Friday, 25 January 2013

Fridge Door Project - Local Sorrel Drink

Sorrel Drink


It's been awhile since I've posted an addition to my fridge door project. The problem hasn't been that I haven't been making anything, it's just that I'm still tweaking some of the things I have made. If you deem the newest jar of pickles too vinegar-y then you still have to finish them before making a new batch. Or at least that's how we roll.

Fortunately for you guys (and our taste buds) this one turned out pretty darn great the first time. I'd been trying to decide how to replace the sugar-y corn syrup sweetened juices in the fridge door. There's usually a bottle of cranberry and a bottle of pink grapefruit in there. We don't often drink either straight, but we'll mix in club soda to dilute them. I don't have a juicer nor did I want to start the habit of handing over a large percentage of our grocery budget to expensive fruit. Is fruit expensive everywhere? I always feel like it's crazy expensive here. And then wandering around at the Bordeaux Fair last weekend with my go-to local sorrel drink in my hand, I was all like duuuh! So I hightailed it over to the nearest stand with a pile of the dried red flowers and started asking questions. "A pound of flowers will make about two gallons of drink." "They're five dollars per pound." "It takes about ten minutes." "You add whatever spices you want."

Sold.

Half a pound of sorrel flowers came home with me that day.

sorrel

Now, as well as I've been told, sorrel is a type of hibiscus but is not the pretty hibiscus flowers you always see in pictures and around the island. It is the same "hibiscus" that is in tea and other drinks, but they fool you by putting a picture of a more familiar flower on the label. That's how it has been explained to me. Seems like it's likely true because in my ten years I've never observed anyone cooking those pretty flowers straight off the bush in their front yard.

ingredients

What I love about sorrel drink is that it's heavily spiced. It's the complete opposite of all the sweet fruit juices you normally associate with the Caribbean (pineapple, guava, mango). I might continue to play around with the spices in the future, but I was pretty happy with what I decided on for my first batch. Everyone I asked at the fair said cinnamon and cloves were a must. Allspice might be good too, but I didn't try it. Google tells me ginger is a staple of the Trinidadian version. I went with a stick of cinnamon, five cloves, and four strips of orange zest.

Tear the petals off of each flower (as you see above). You don't need the seeds, only the petals. They don't dye your fingers red as I was fearful they might. Fill a pot on the stove with water and drop in the spices. Bring it to a boil. Once it's boiled, drop in the petals and turn off the heat. It quickly goes from this:

boiling water

To this:

steeping

Now you just let it sit and steep. I was originally told ten minutes but it was too weak for me at that point. I wound up letting it steep for twenty minutes, heating it back to a boil, and then steeping for another ten minutes. 

When you're satisfied with the taste, sweeten to your liking. Pour through a strainer and throw away the solids. Enjoy over ice! I definitely found that this tasted even better the next day but it was still great day of. Next time I may increase the amount of sorrel I put in to make it stronger and better to mix with club soda, but for now we're happily drinking it on it straight up.

Sorrel Drink


Sorrel Drink
Locally on St Thomas you can buy sorrel at farmers markets and occasionally I see dried packages of them at Fruit Bowl. Elsewhere, check the international section of your grocery store. The Caribbean, Mexican, or African sections may have them dried in bags. Or you can just find them on Amazon.

The amount of sorrel you use per gallon of water is up to you. I started with 1/2lb and will probably increase it for my next batch for a stronger drink.

1/2lb-1lb sorrel flowers
1 gallon water
1 cinnamon stick
5 cloves
4 strips orange zest
sweetener of your choice (I used 3/4 c. fair trade sugar)

Pull the petals off of the flowers. Throw the seeds away. Put your spices in a pot with the water and bring to a boil. When water is boiling, turn off heat and add the sorrel petals. Cover and let stand 15 minutes. Taste and if drink is too weak, bring water to boil again, turn off heat, and allow stand another 15 minutes. Continue until flavor is to your liking. Add the sugar. Pour into a pitcher through a fine mesh strainer, discard solids, and serve over ice.


More from the Fridge Door Project:

Currently working on:
- Garlic Dill Pickles
- Tomato Jam (which I prefer over ketchup)
- Berry Jam

Monday, 1 October 2012

Tomato Jam, my bad...

Warning: This is a completely unhelpful post. I tell you about something awesome and then don't share with you how to get it. Just wanted to be clear about that.

Remember a few months ago when I told you about "wasting" a whole lot of tomatoes and an entire Sunday afternoon making 5 pints of tomato jam that weren't worth eating. Well, I take it back. It's not that the jam wasn't worth eating. It just wasn't what I expected. And now that I've gotten over my disappointment due to the wrong expectations, the jam is delicious. We eat it several times a week. Usually on toast with an egg on top.


Our creativity stops there. Because that's really all we want out of it. Just a quick meal or an lazy Saturday morning breakfast. A way to dress up an egg on toast. And boy does it dress it up. Best mistake ever! So I thought I'd pass along the recipe. And then I realized that because I was originally so angry at the jam for not being what I wanted it to be that I didn't save the recipe. Going to have to do a whole lot more searching to figure out where it came from. Sorry. But don't worry. I'll be sure to find it before the jam we have runs out. It's too good to not have on hand!

UPDATE 1/25/13 - Found the recipe! We still have about three small jars of the original batch to finish up. Then I'll make more and post the recipe.

Wednesday, 1 August 2012

How to Peel Tomatoes and Make Ketchup

Why would you care about peeling tomatoes, you ask? Because that's the first step to making your own ketchup! Unless you would rather just buy whole canned tomatoes. But that is far too easy for me. I'd totally grow my own tomatoes but it seems physically impossible to do on St Thomas. In the Bahamas my friend Penny could grow 20-30 tomatoes plants at once. During the winter. It was incredible. But not here. Not St. Thomas. This island gods hate tomatoes and want to stop them at all cost. Someone once told us that you used to be able to grow tons of tomatoes year round. Then a hurricane blew in some sort of fungus that kills them all off before they can finish ripening. Sounds crazy, yes? A hurricane blew in a fungus? But I believe it. You start believing the crazy once you've lived here long enough. And over the last six years we have grown a large number of beautiful tomato plants. Bright green. Strong. Plants that left that awesome tomato smell on your hands when you touched the leaves. But as soon as the plants start to flower they die. And fast. The heartbreak was just too much. So we stopped trying to grow our own tomatoes and started buying the $5 baskets at Fruit Bowl.

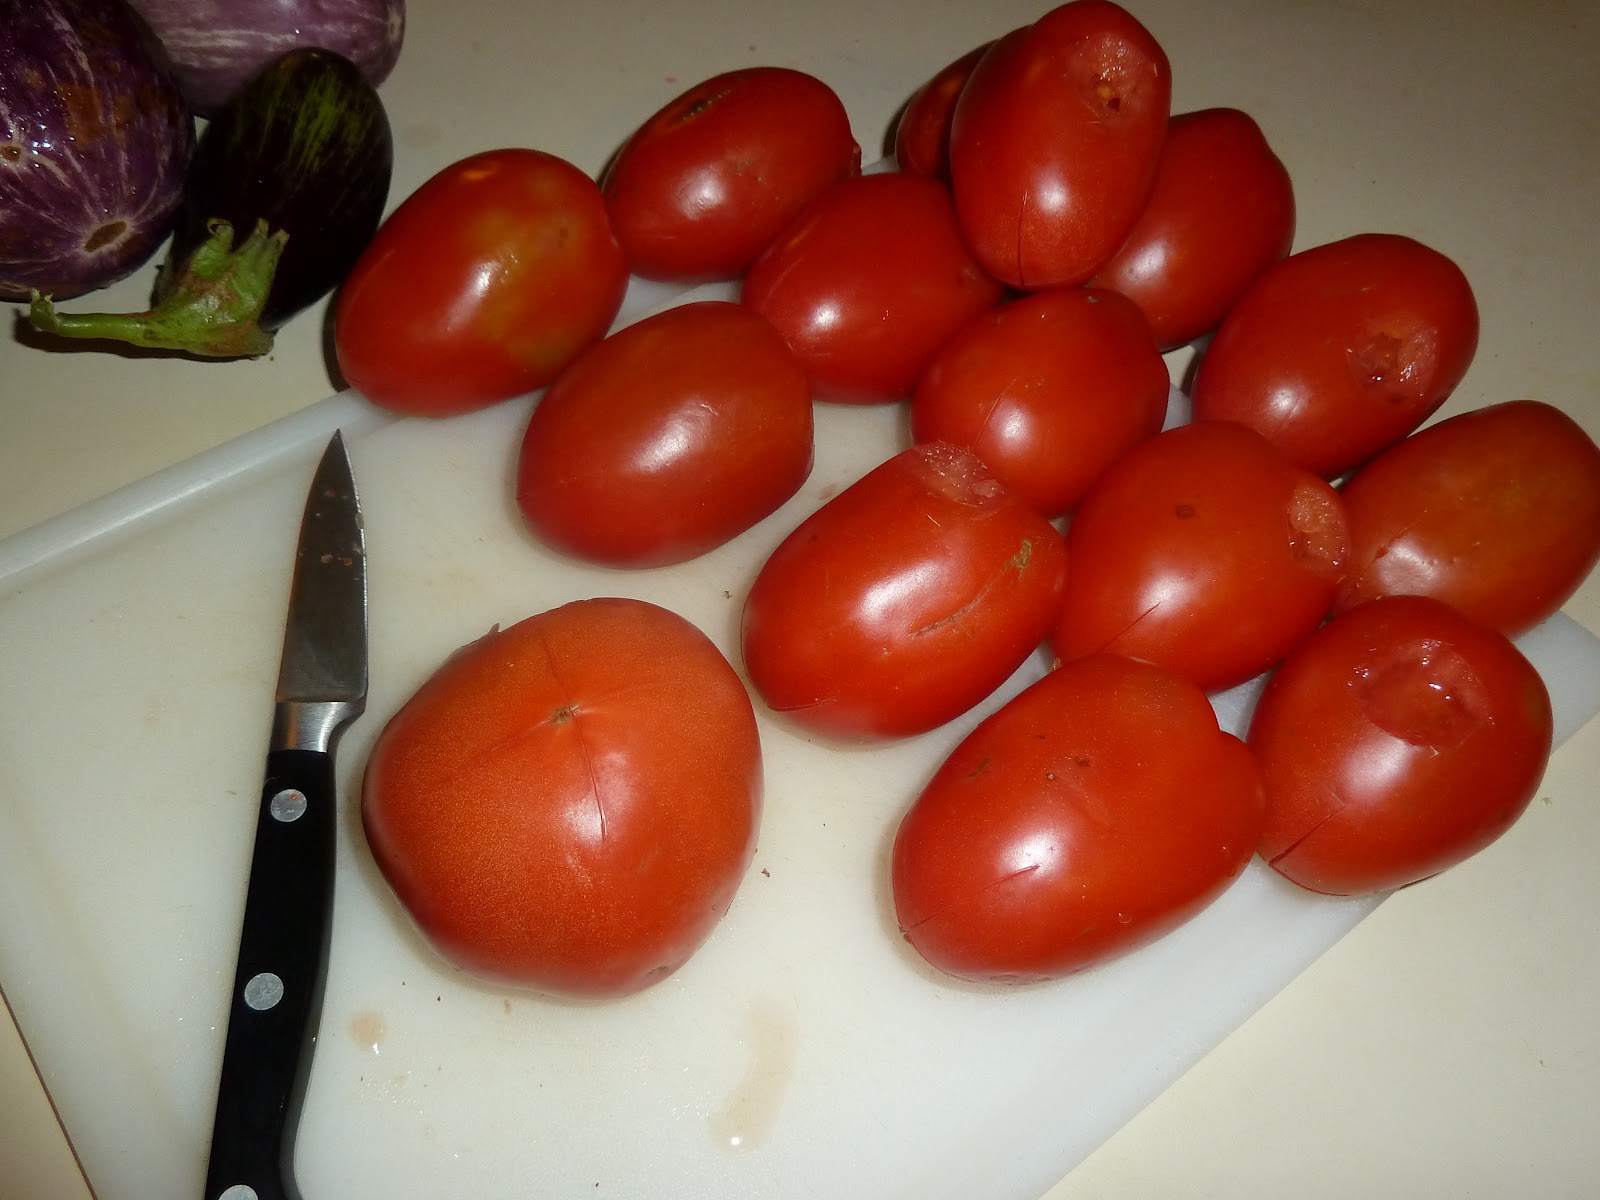
I usually do my semi-boring food prep like this on Sundays. Also, Roma tomatoes are best because there is more meat in them and less juice. At least that's my opinion. So start out by coring them (cut out the tomato belly button) and any bruised or weird parts (as the $5 basket tomatoes are sure to have).   


Then you're going to slice a not-too-deep X in the skin on the bottom of the tomato.


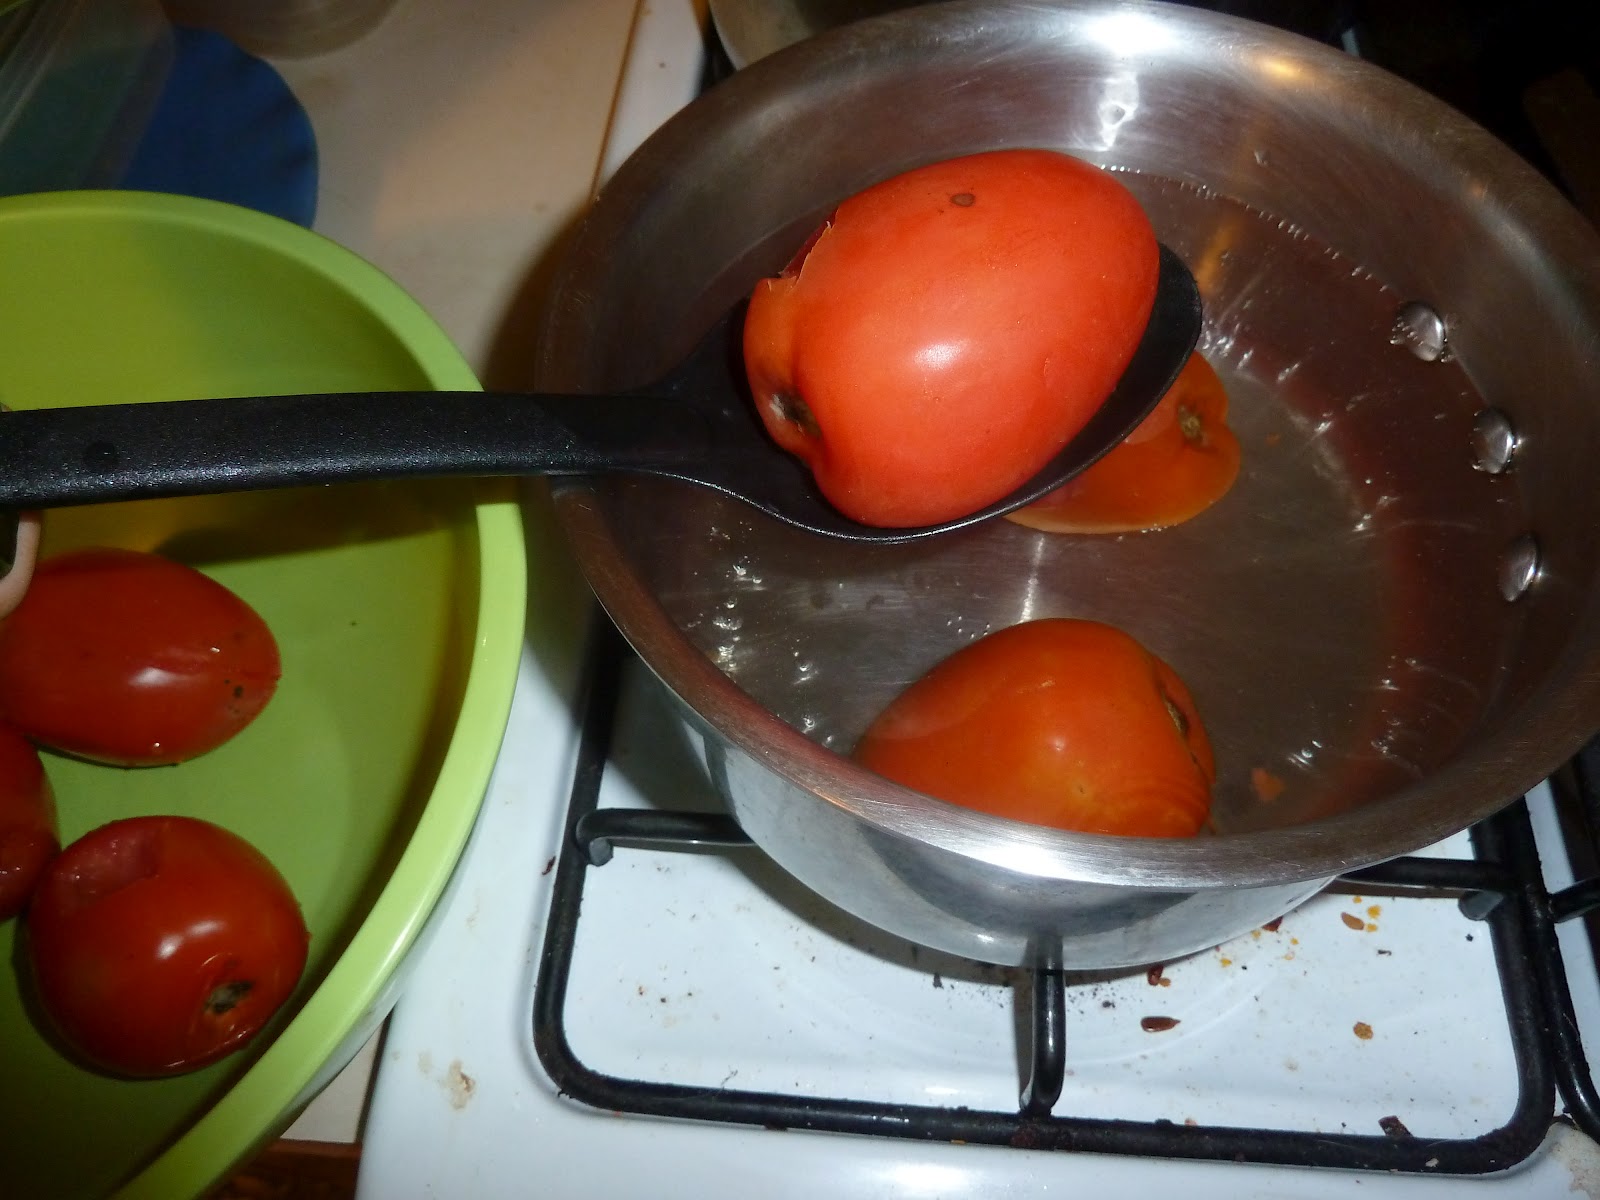
Get a pot of water boiling. Drop a few tomatoes at a time into the boiling water. And by drop, I mean lower with a spoon. Unless you would like boiling water splashed back up on your hand. Leave them in until the skin starts to blister and peel off at the X. (I think cookbooks would actually tell you to leave them in for a certain amount of time, but that never works for me. I just leave them in until they blister.) Once the skin starts to come away from the tomato, use your spoon to transfer the tomato to a bowl. Keep adding new tomatoes to the water until you're done.


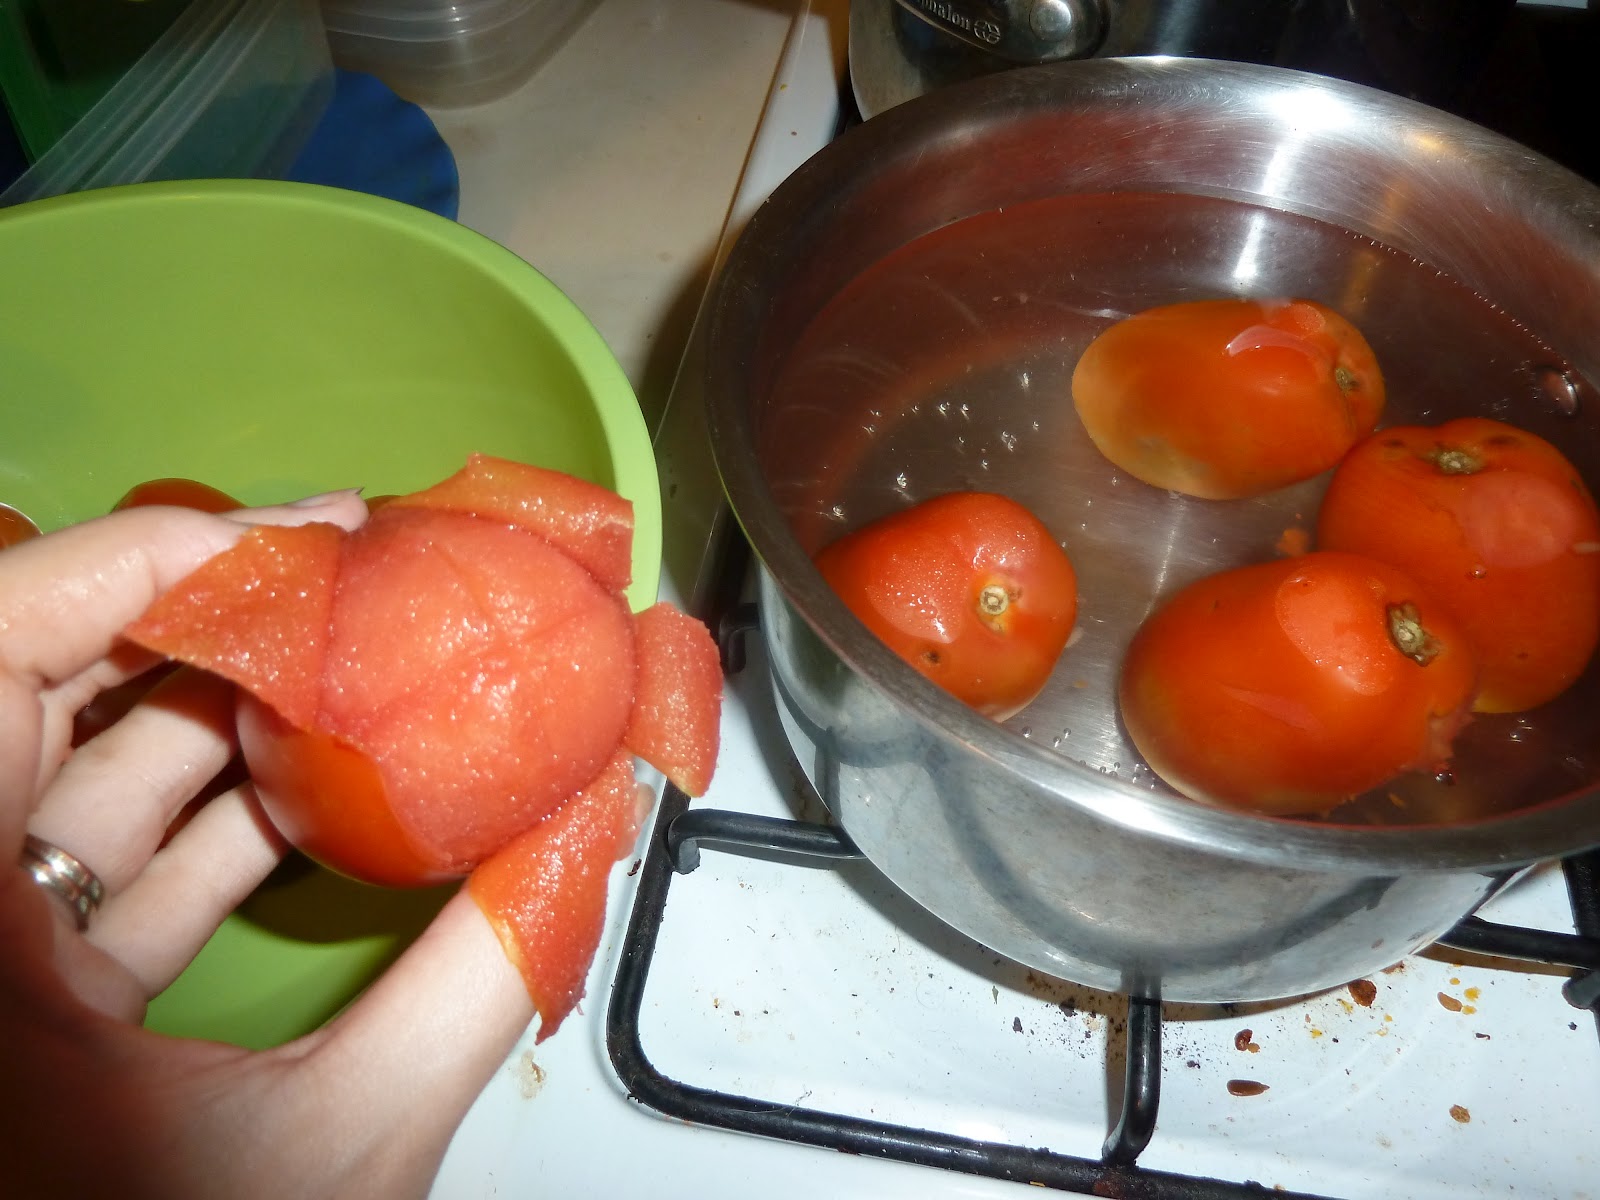
Let the tomatoes cool a bit. (Or don't, as I'm demonstrating in the picture below. But be prepared to scald your fingertips off if you do it my way.) Once they're cool enough to work with go ahead and peel the skin off the tomatoes. It should be pretty easy.


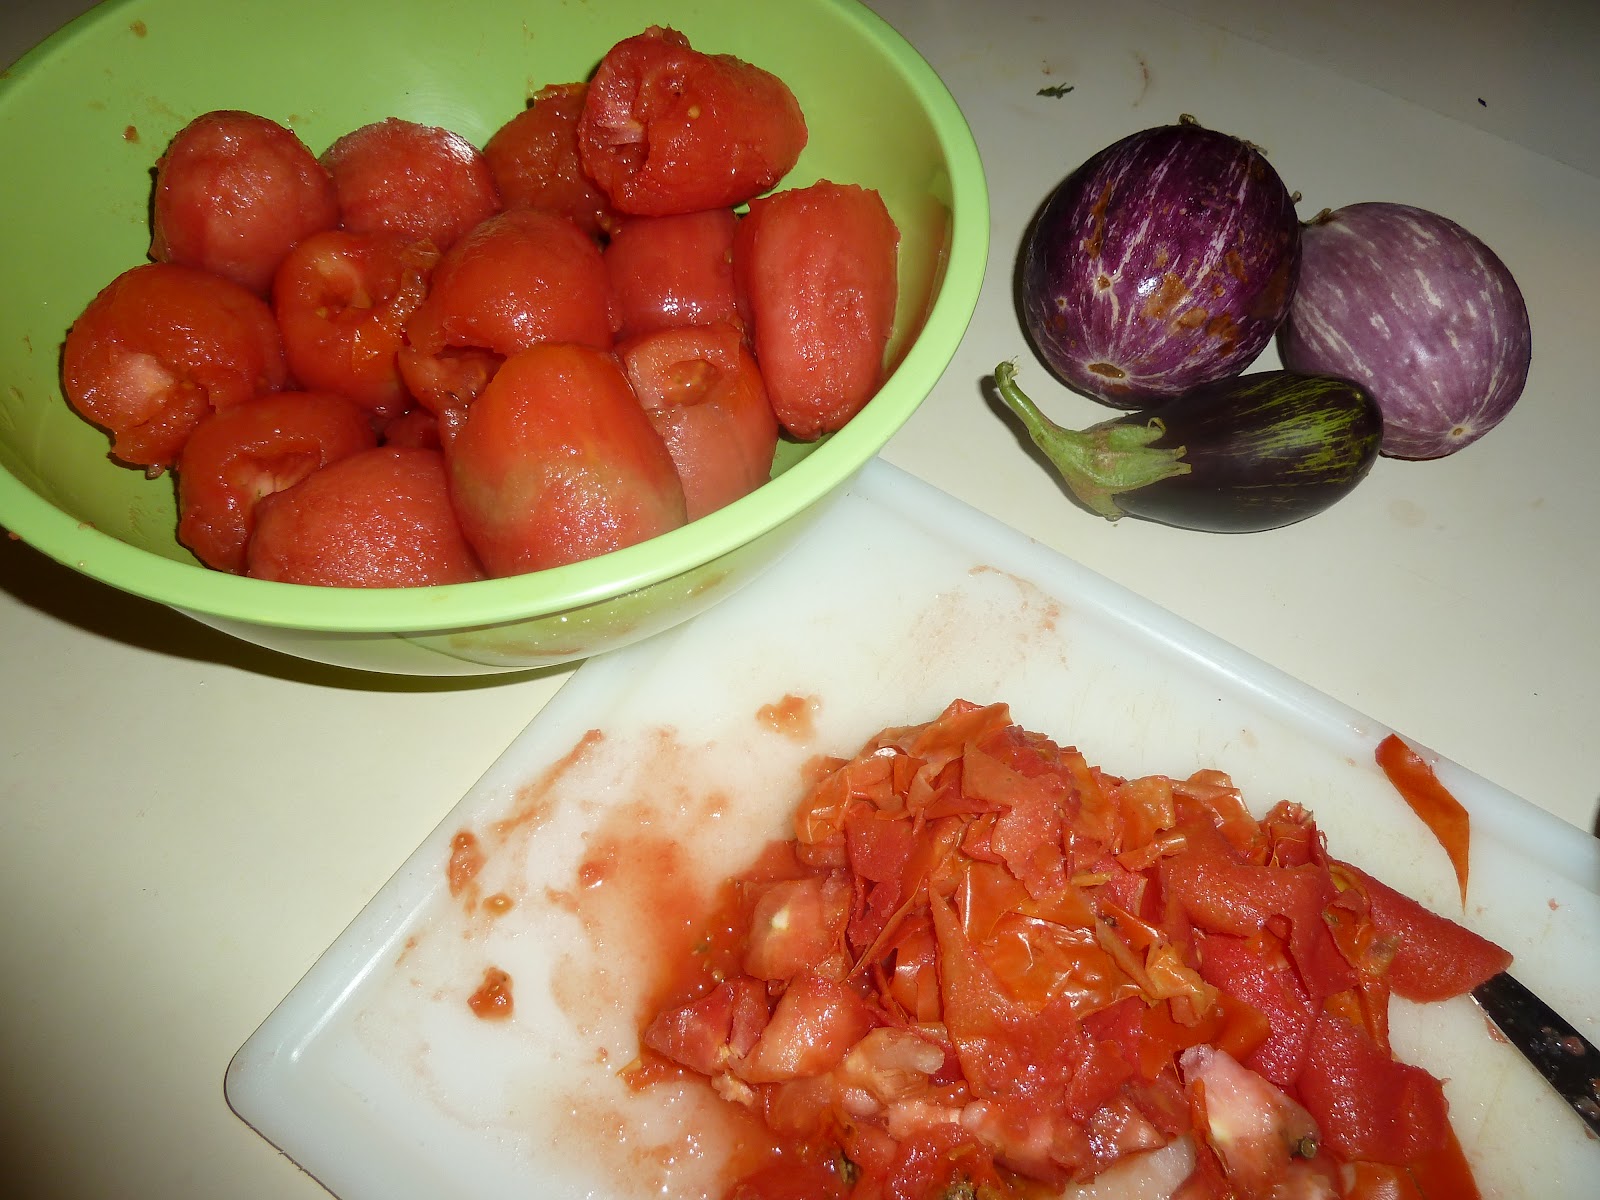
There you go. A bowl full of naked tomatoes. If you want, you can then squeeze each tomato to get rid of most of the juice and seeds that are inside. After that I usually freeze mine and use them instead of canned tomatoes. This way I avoid all the "AHHH! THERE'S BPA LEAKING INTO YOU CANNED TOMATOES GIVING YOU TERRIBLE HEALTH PROBLEMS AND GENERALLY CORRUPTING THE MORAL FIBER OF OUR CHILDREN!" insanity that is being reported these days. Then I use the tomatoes for sauce, ketchup, whatever as the need arises. I can usually complete the whole process during one Law and Order rerun. Avoiding BPA health risks and learning to never ever trust my rich college friend when she offers to take over managing my escort service (you will die. guaranteed. law and order has proven it as fact.) makes for a pretty productive Sunday afternoon in my book.


With some of your peeled tomatoes you could jump right into making ketchup to replace the Heinz in your fridge door. I used the recipe here. (Hint: that was a link.) It doesn't taste exactly like Heinz. But it does taste like tomatoes and is good on burgers. Seriously, last weekend I had a grass-fed beef burger on a homemade bun with homemade ketchup and homemade mustard. There are no words. No words.

Or you could skip all of this tomato nonsense and just watch Law and Order. Am I the only one that goes through tons and tons of tomatoes? Or am I just the only one that would go to all this trouble to avoid canned tomatoes?

Wednesday, 28 March 2012

Fridge Door Project - Italian Dressing

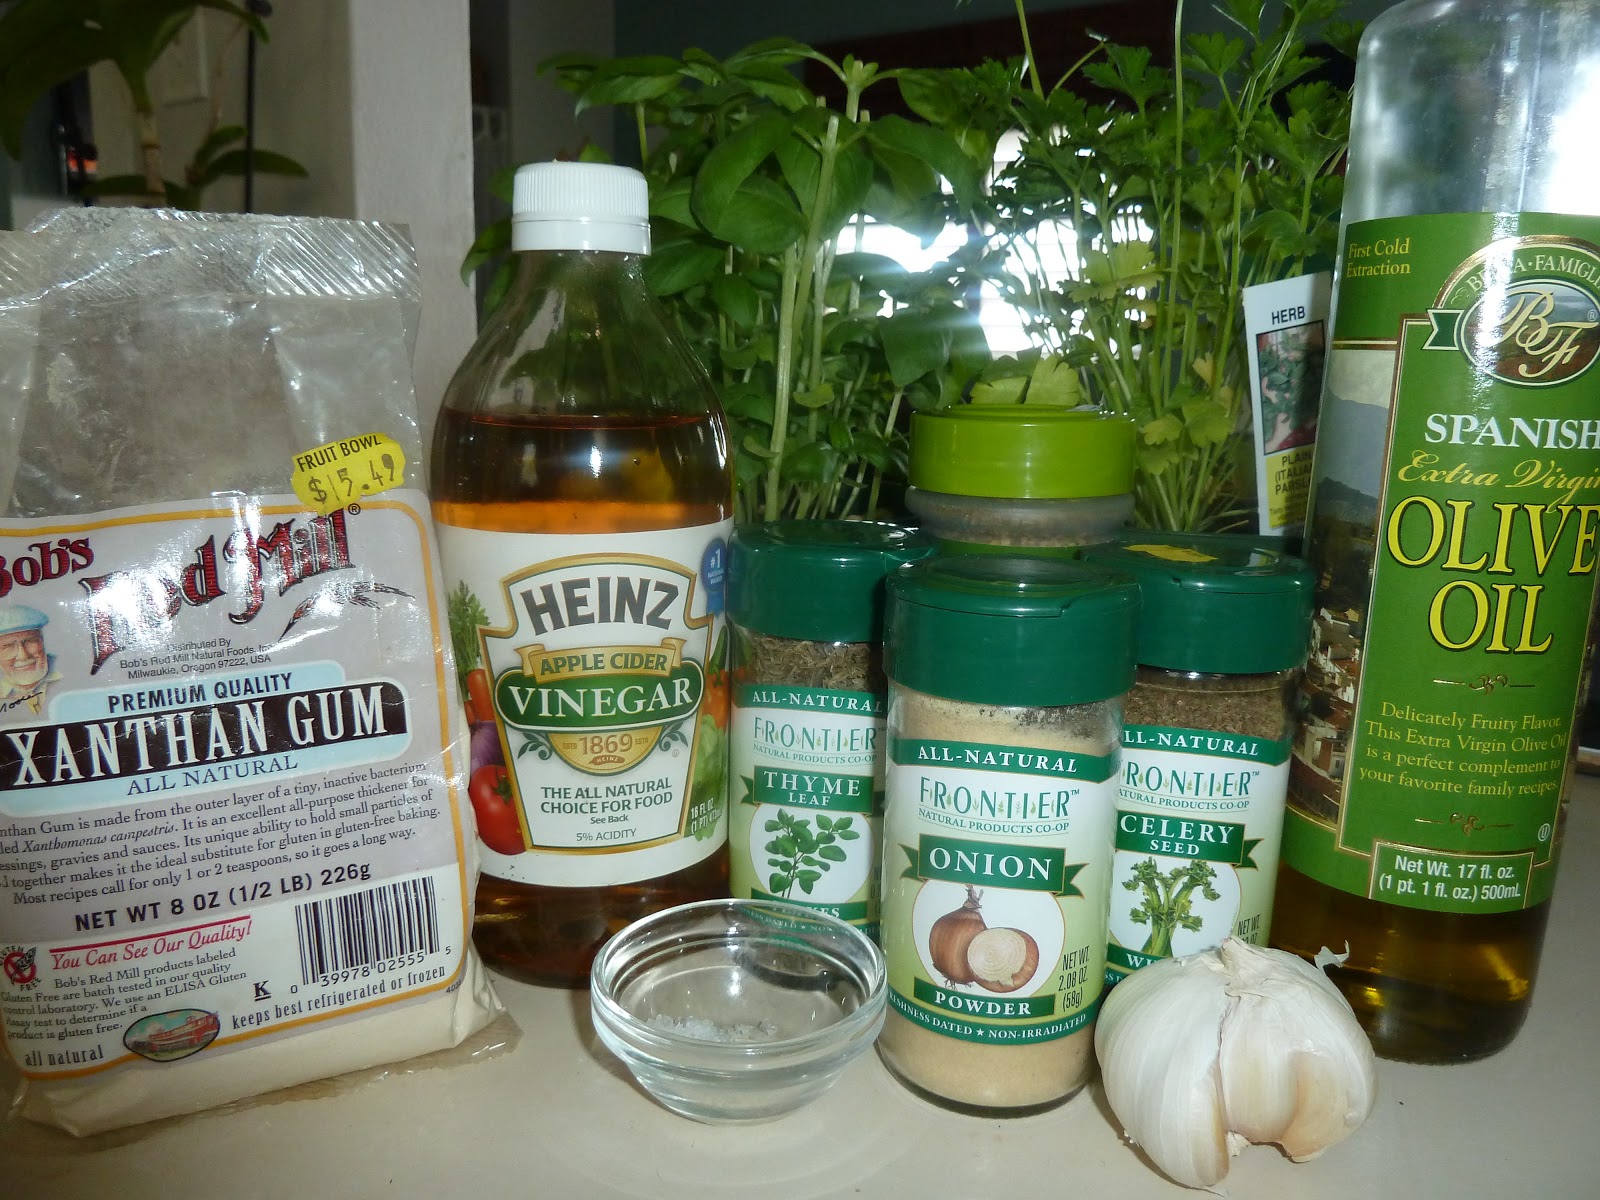
In my mission of replacing my fridge door items with homemade ones, I've been wondering how I was going to pull off a good salad dressing replacement. Other people make salad dressings I enjoy but I've never made one myself that I'm satisfied with. Usually they're too runny for me. It's the consistency I can't get right. Last week, I noticed one of our grocery stores carrying a new line of all-natural salad dressings. Every ingredient listed on the back was familiar (except for the always mysterious "natural flavors"). They also had an unexpected ingredient: xanthan gum. I know xanthan gum is used as a stabilizer and I already had some at home in the freezer. I use it to make a vegan butter substitute. It's not cheap, but a little goes a loooong way. A quick search on the google machine revealed several salad dressing recipes that used xanthan gum. It was good to read some examples of how to use it, but unfortunately none of those dressings appealed to me. Seth had also already requested Italian dressing. So another quick google search later and I had thousands of basic Italian dressing recipes...minus the xanthan gum. Time to glean what I could from what I had found and then strike out on my own.

Xanthan gum isn't cheap, but I've never used more than a teaspoon in any one recipe. 

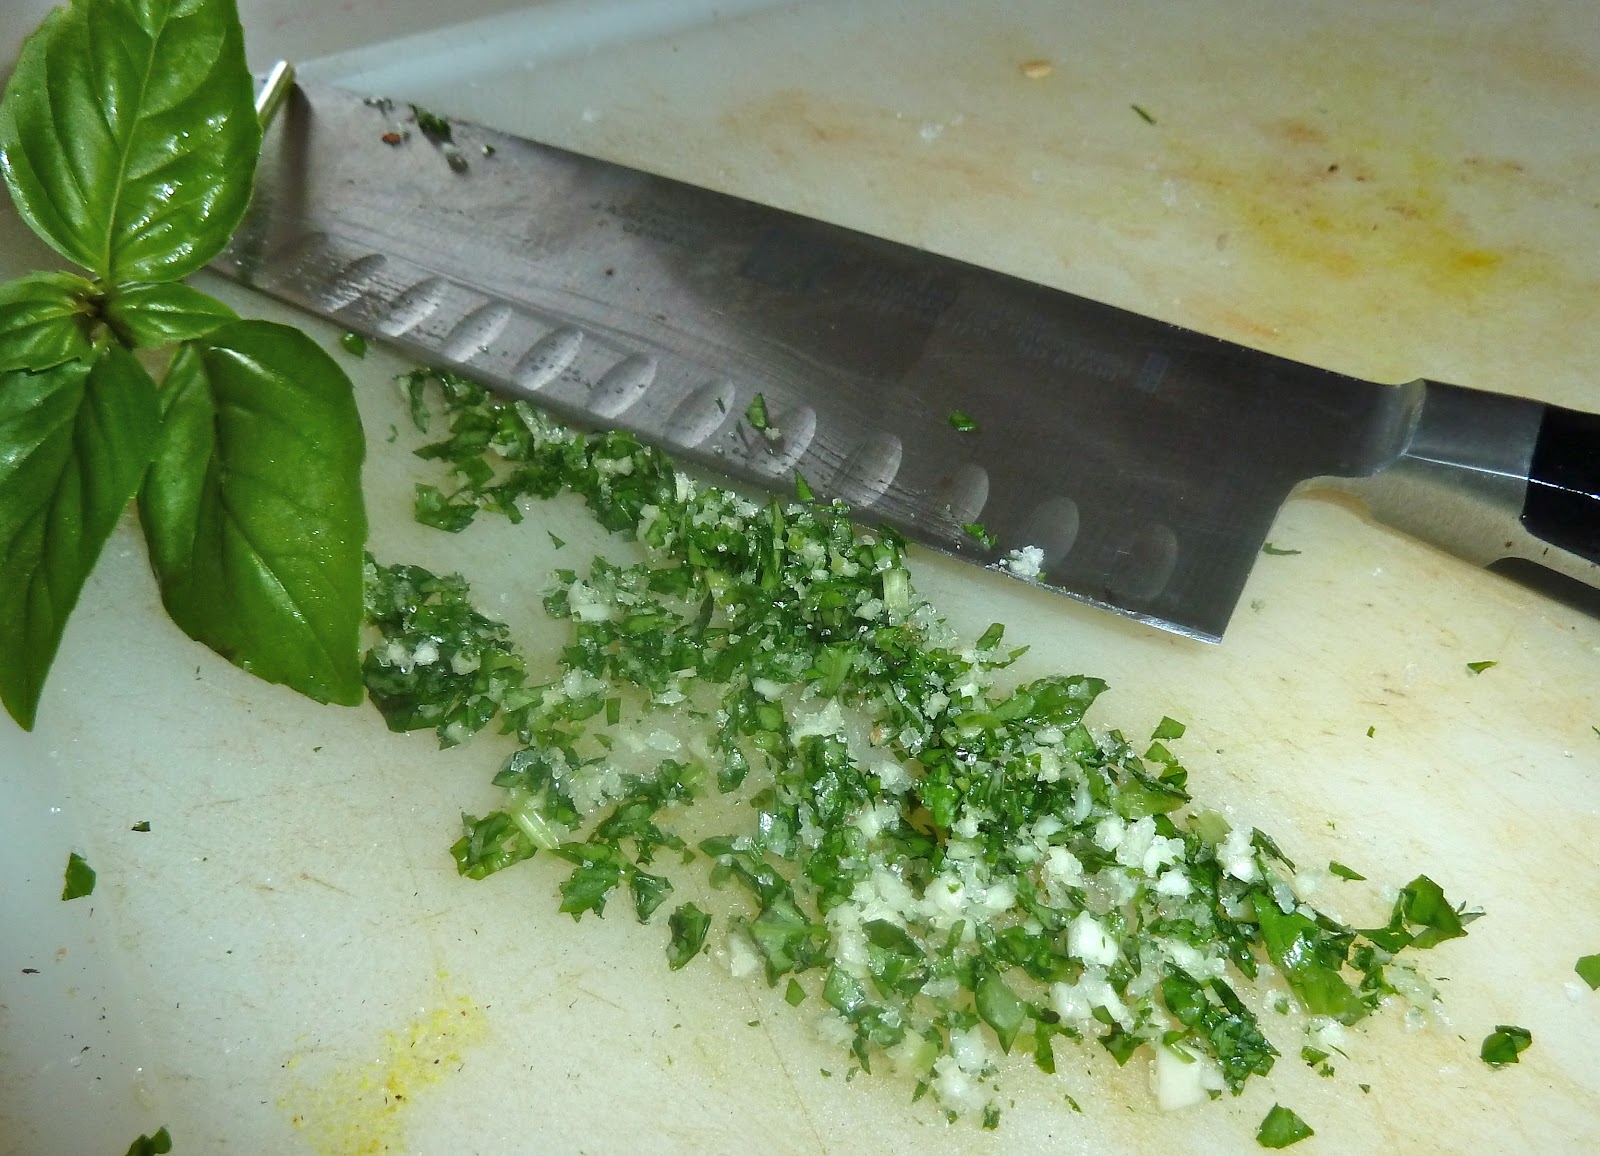
I started by making an basil garlic salt. Don't know how to make an herbed garlic salt? It's easy. Pile up the herbs, garlic clove, and salt on a cutting board and keep mincing and mashing until it's tiny, crumbly, and combined. You can use this for all sort of other dishes. A few days ago I made a basil garlic salt to mix into dumplings I was making.

Note to self: wash the turmeric from a previous project off of the cutting board before taking blog pictures. 

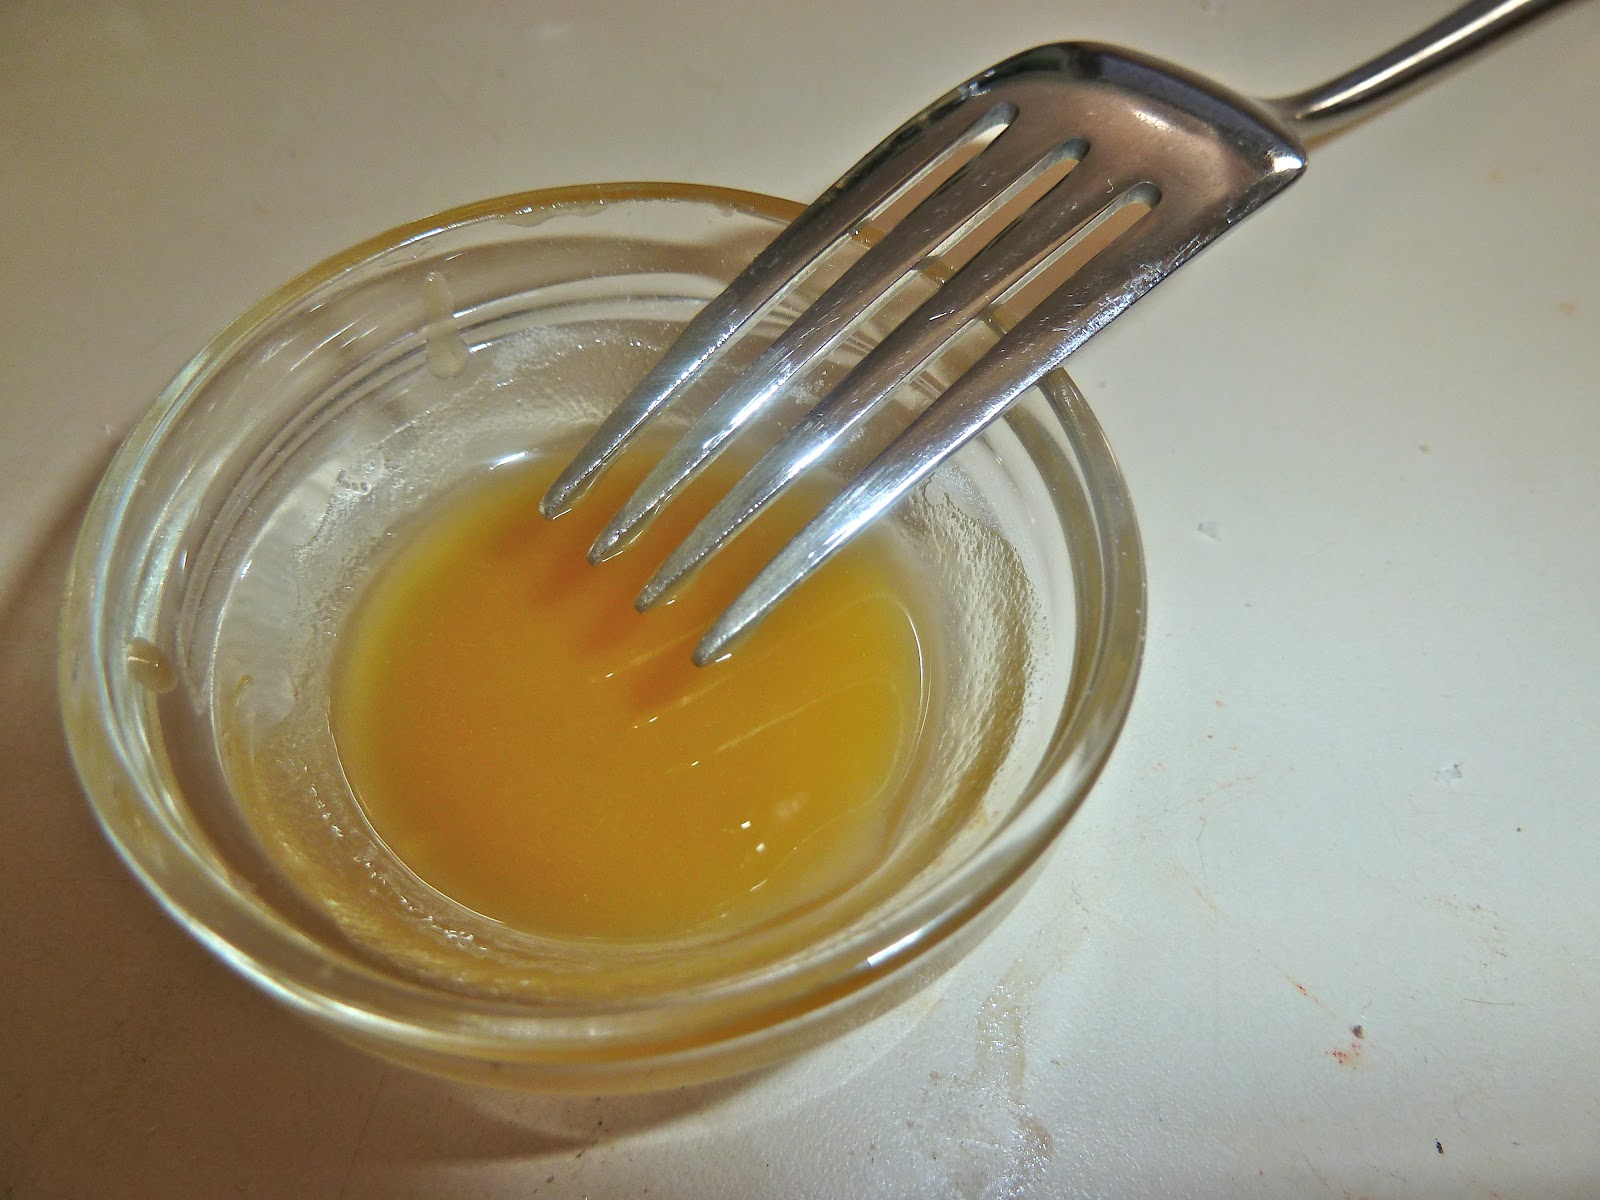
One trick I learned from my internet research is to combine the xanthan gum to an equal amount of oil before adding it to the rest of the ingredients. The oil won't dissolve the gum but it will help it to disperse evenly, instead of clumping, when added to the liquid.

If you want to learn from my experience, refrain from tasting the xanthan gum/oil combo. It doesn't taste bad. Its doesn't actually taste like anything. But it sticks to your tongue and the roof of your mouth for an hour.
 Now combine all your ingredients in the food processor. I added all the liquids first, the herbed salt and dried herbs next, and the xanthan/oil combo last. Don't know if it matters, but that's what I did. Turn on the food processor and give everything a whirl until its fully combined.


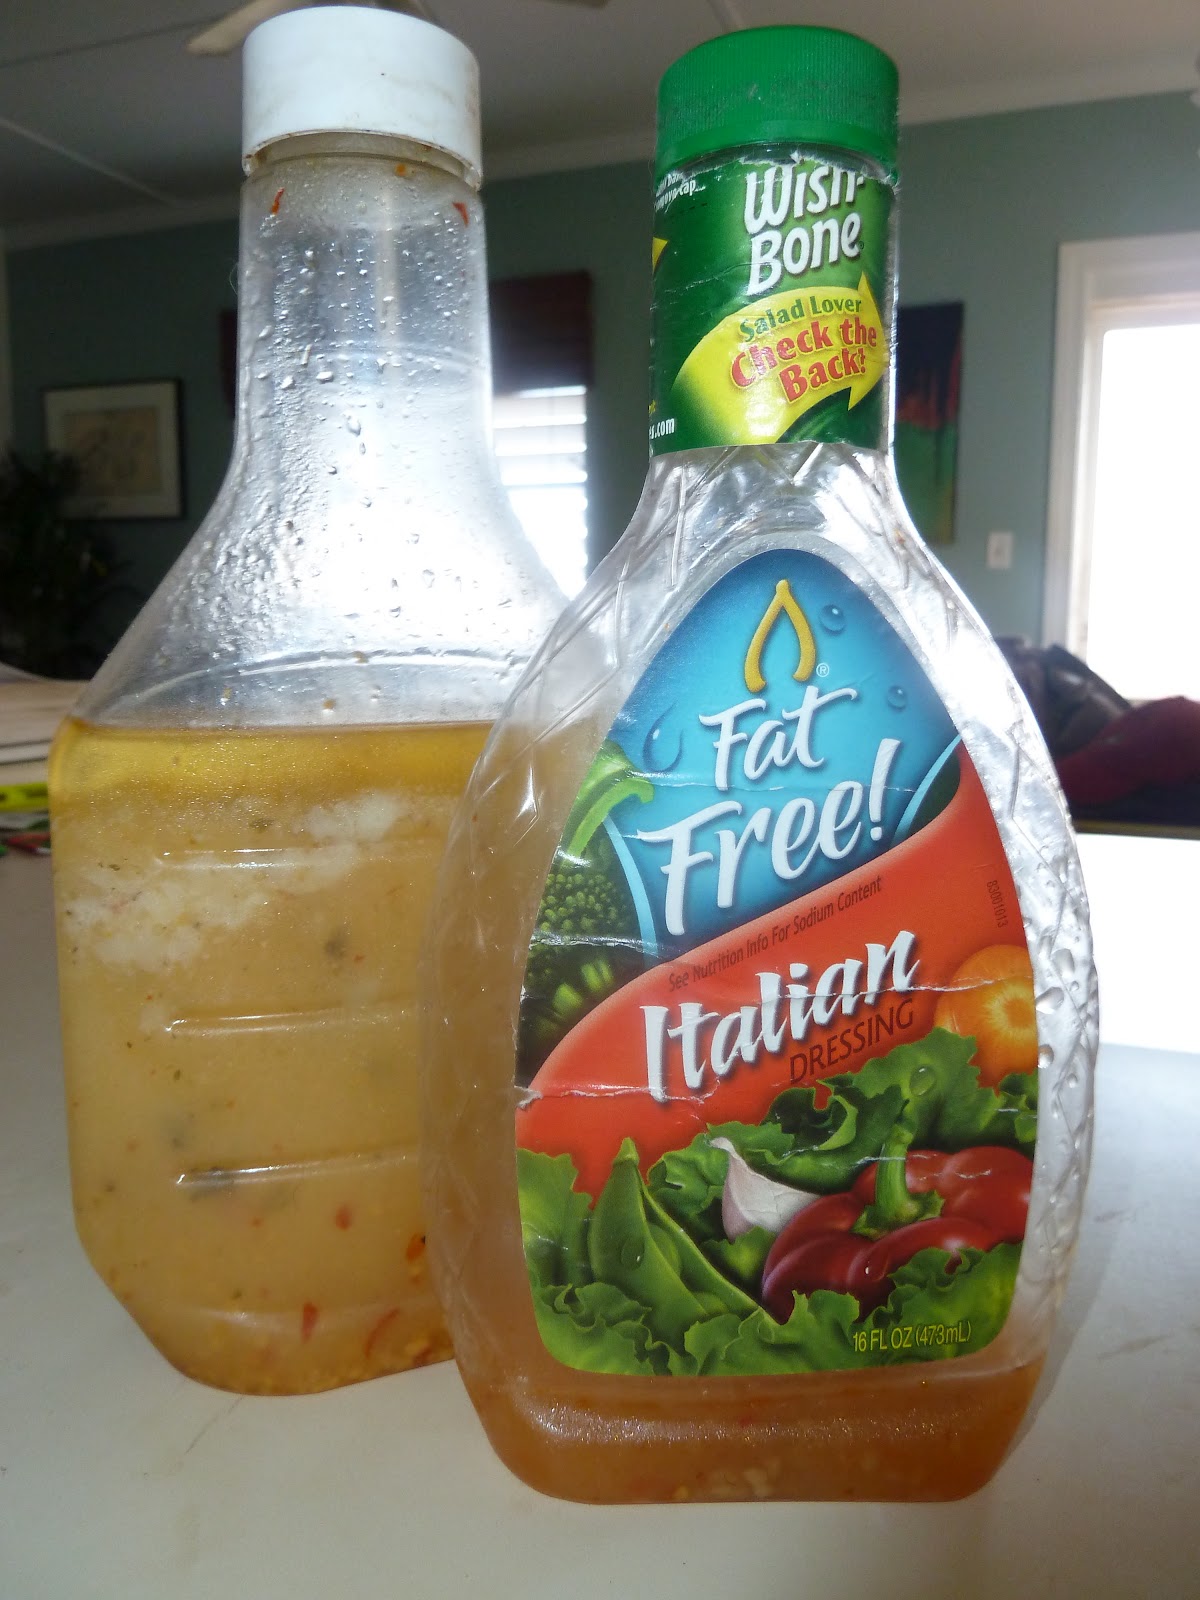
So now, be honest. Which would you rather have on your salad? This...


...or this? This was the perfect consistency. It coated a spoon without dripping off or being too thick and gloppy. Next time I might try to use all fresh herbs. We'll see. 


Italian Dressing
This recipe is so easy to switch around to fit your taste. Change the herbs. Change the type of oil. Change the type of vinegar. Replace some of the water with fruit juice or tomato juice. The possibilities are endless. 

1 cup water
1/4 cup extra virgin olive oil
1/4 cup apple cider vinegar
1 clove garlic
6-8 fresh basil leaves
1 Tbsp salt
1 1/2 tsp sugar
1 tsp dried thyme
1 tsp dried oregano
1 tsp dried rosemary
1 tsp celery salt
1 tsp onion powder
3/4 tsp xanthan gum

Pile the basil, garlic clove, and salt together on a cutting board. Mince them together, combining them until they are finely chopped and form a crumbly herbed salt. In a small bowl, mix the xanthan gum with 1 tsp of the olive oil. Combine all the ingredients in a food processor, adding the xanthan/oil combo last. Process until combined. Taste and adjust seasonings as necessary. Pour into a salad dressing container or jar and keep in the fridge.

Saturday, 10 March 2012

Fridge Door Project - Dijon Mustard

I promised a recipe for dijon mustard "later this week" and then I never delivered. Settling into my blog groove is tricky. I'm still working to find weekday time for blogging. My favorite blogs are the ones from which I know what to expect. If I know I can expect a post 2-3 times a week or one per weekday or whatever, I'm happy. It's the consistency that does it for me. My least favorite blogs are the ones where people go off the radar for periods of time, come back strong with several posts, then disappear again. They're like the friend that cancels on your coffee date 50% of the time. Not the end of the world, but disappointing. I do not want to be one of my least favorite blogs. So hang with me. I'm figuring this whole thing out.

Now, on to mustard! Hurrah! I chose to start the FDP with dijon mustard for two simple reasons. 1) We ran out. 2) I already had mustard seeds in the pantry. If you've never made a mustard, they're not as hard as you might think. It might take a few batches to figure out the ingredient balance to match it to your personal taste. Mustard takes a few days or weeks for the flavor to develop so you can't necessarily taste it while you're making it and adjust seasonings then. But! The good news is that while you're finding your perfect mustard combo you still have a fridge of tasty (just not perfect) mustard to enjoy in the meantime. And you can easily impress people by serving it, causing them to think you're a culinary genius.

Do you want to use 15 minutes of your life to impress people into thinking you're a culinary genius? Here's what you'll need:

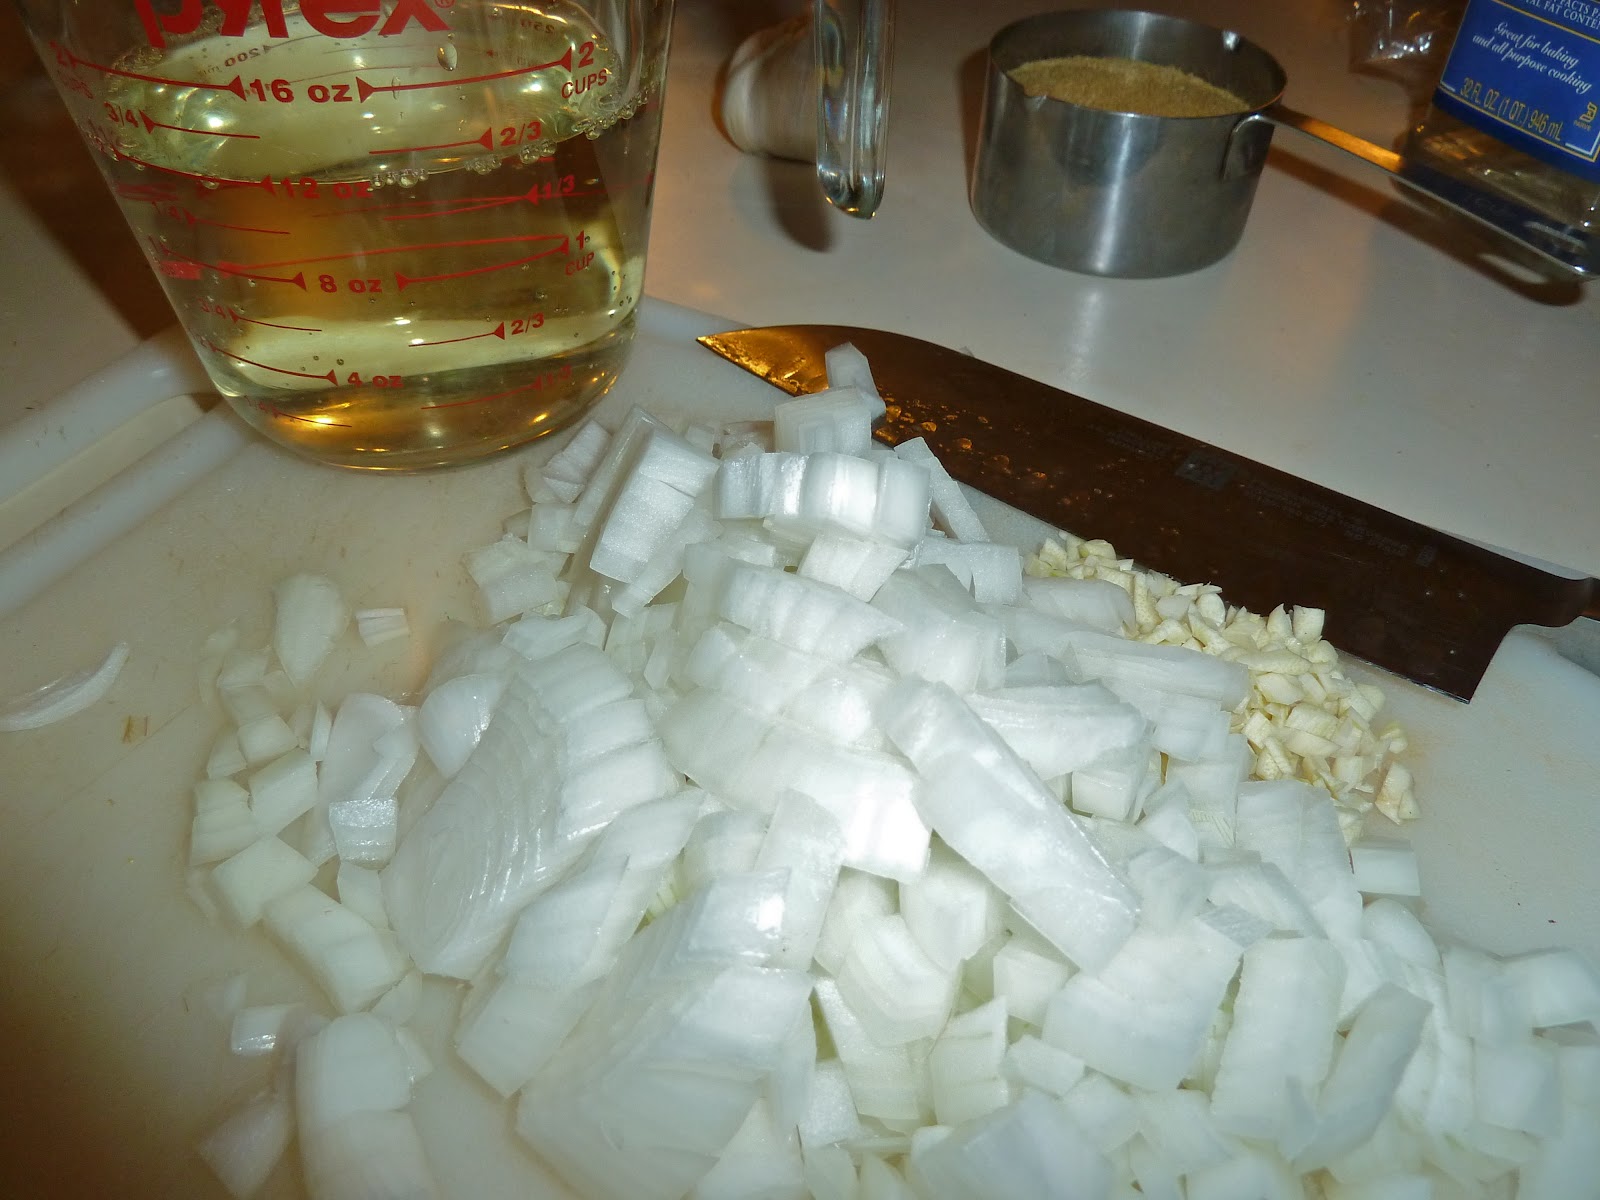
white wine, safflower oil, onion, mustard power, garlic

All ready? Okay, here we go!


First things first, chop up one onion and 3 cloves of garlic. Measure out your mustard powder (1 cup) and wine (2 cups) so that they're ready later. (Note in the first picture that I was a little short on mustard powder. I adjusted all my other ingredients accordingly.)


Combine the wine, onions, and garlic in a small saucepan and bring to a boil. Let them simmer about 5 minutes and then pour through a strainer to pull the solids out. Mash the onions and garlic in the strainer with your spoon a bit to make sure you squeeze as much flavor out as you can.


Return the liquid to the saucepan and whisk in the mustard powder a little bit at a time until combined. Whisk in 2 tsp. salt and 1 Tbsp. of oil. (I prefer safflower oil but vegetable or canola oil will work if that's what you use.) Now continue stirring over heat until it's thickened up.


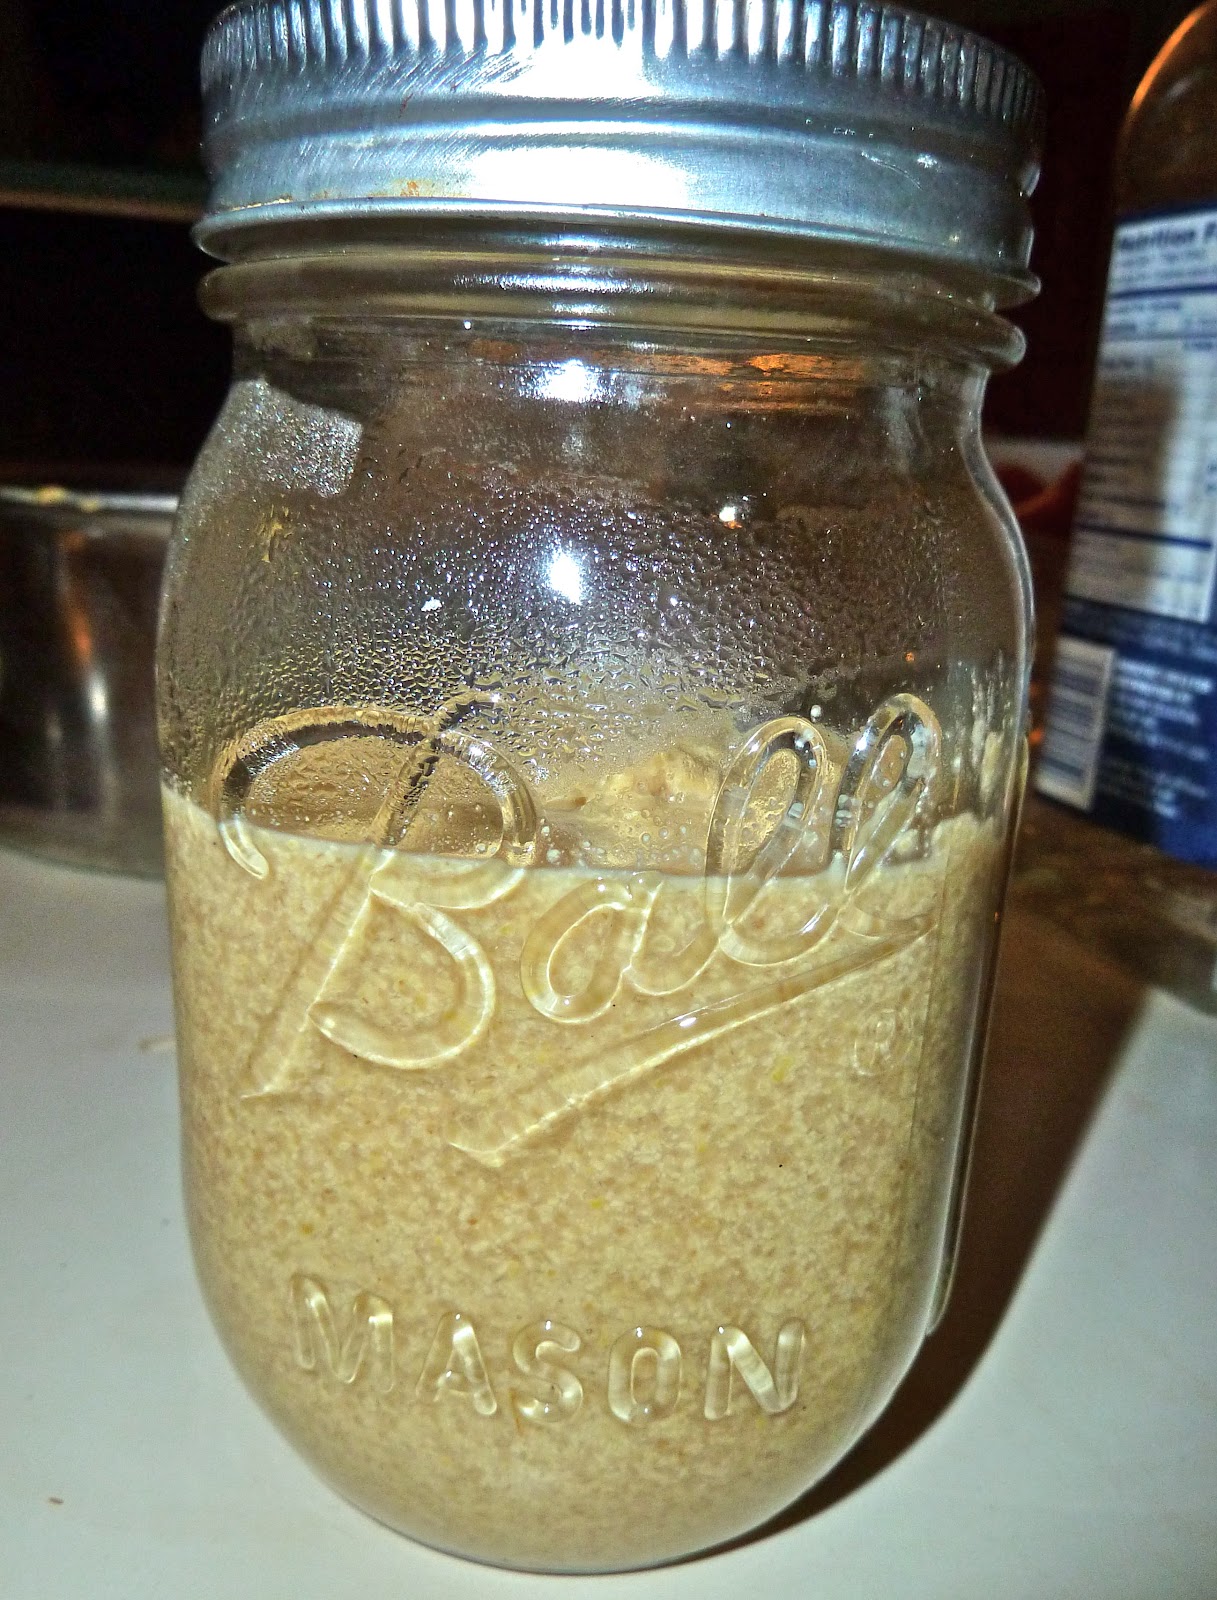
Once it's thickened up a bit, pour it into a jar. Let it sit out on the counter overnight to cool down then put it in the fridge door. The mustard needs time for the flavor to develop so hold off on using it for about two weeks. (Because mustard comes with a wait time, remember not to wait until you've completely run out to make another batch!) One processed store-bought item has now been replaced! 

Homemade Dijon Mustard
Remember, the quality of your final product is only as good as the ingredients you put in it. If you have the ability, spend a few extra dollars for better wine and mustard powder. We're not talking top of the line, just something with a slight better flavor than the cheapest stuff available. If not (and, trust me, I don't always have the ability to spend a little extra either) your homemade mustard is still going to be better than store-bought! 

2 c. dry white wine
1 c. mustard powder
1 onion, chopped
3 cloves garlic, minced
1 Tbsp safflower oil (vegetable or canola will work)
2 tsp salt

Combine the wine, onion, and garlic in a small saucepan and bring to a boil. Simmer for 5 minutes. Pour through a fine mesh strainer to strain out the solids. Return the liquid to the pot and whisk in the mustard powder slowly, until combined. Stir in the oil and salt. Simmer until the mixture thickens. Transfer to a jar and allow to cool on the counter overnight. Keep it in the fridge and allow the mustard flavors to develop for two weeks before using.

After the two weeks has passed, taste the mustard. Is it perfect for you? Great! Do you want more tang? Make a note to add a little more powder next time. Or salt. Or onion and garlic. Or whatever you think it needs more of. Continue doing this for your next few batches and eventually you will have created a perfect-for-you dijon mustard suited to your own individual taste. 


Sunday, 4 March 2012

The Fridge Door Project

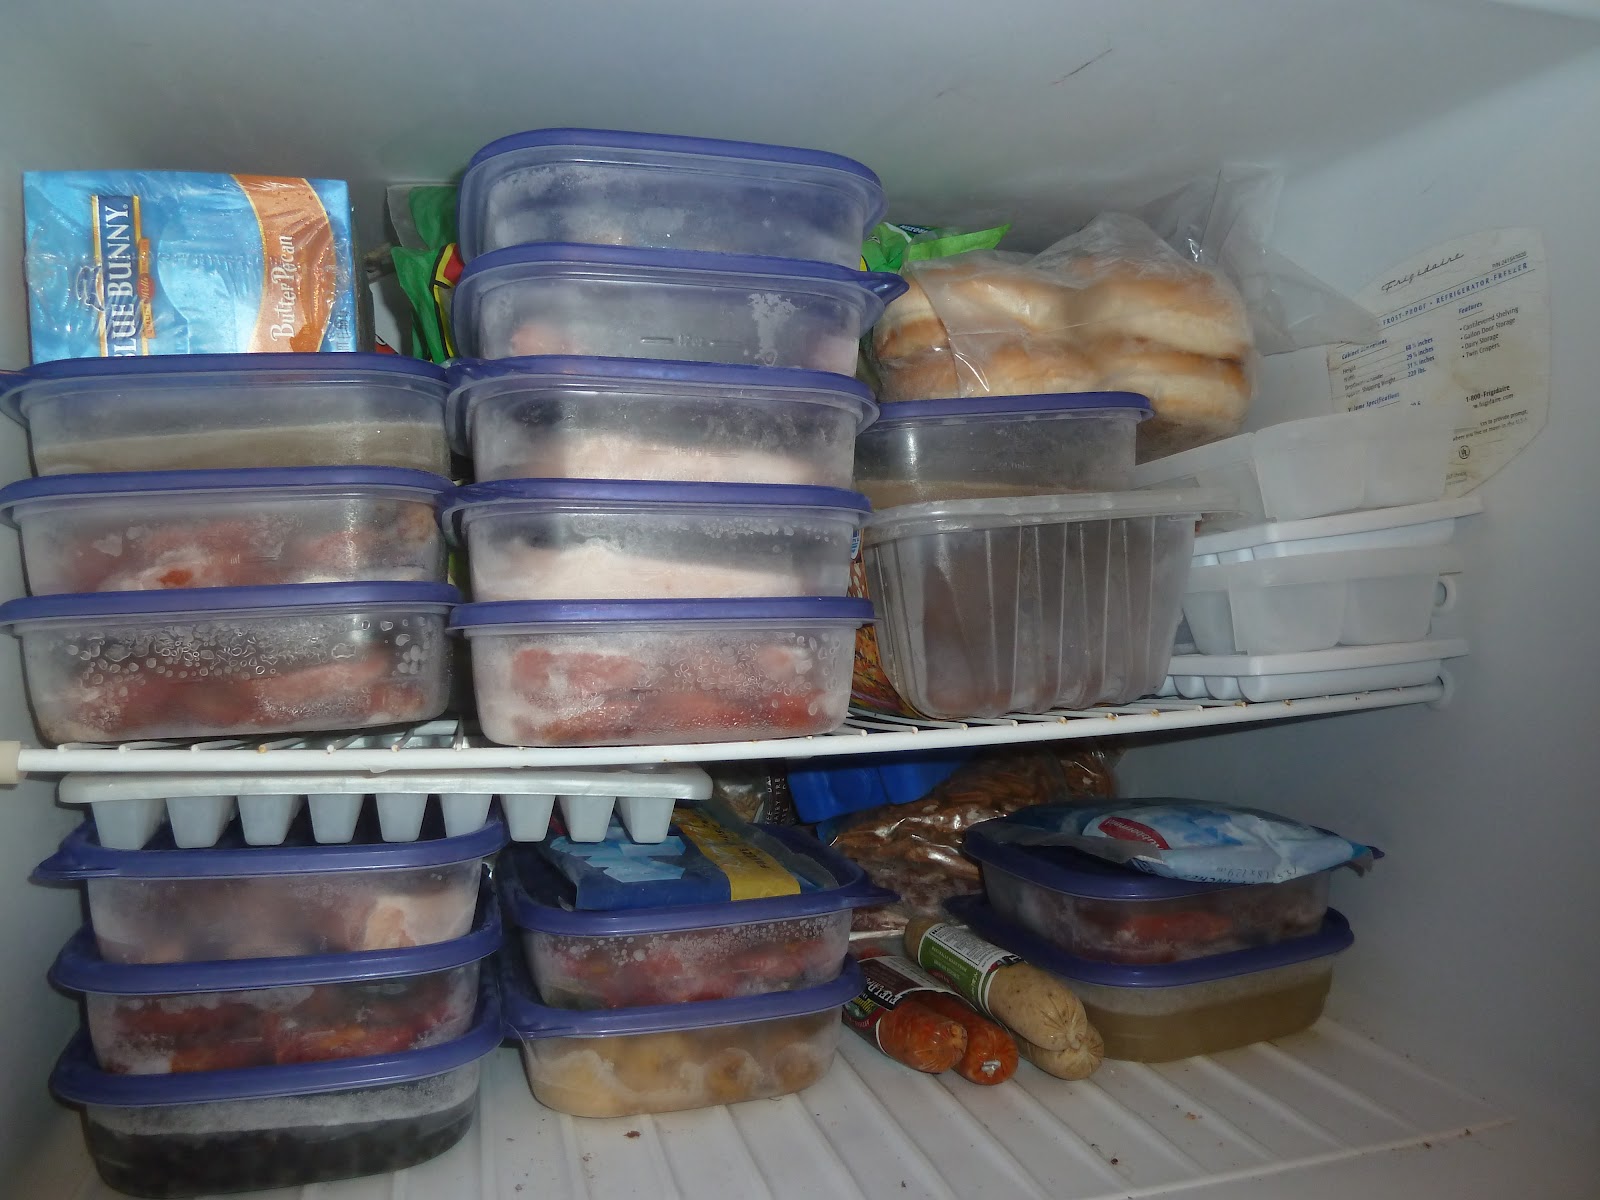
A long time ago (about 6 years) in a land far far away (the Bahamas) I found myself newly married to Seth and excited about the prospect of cooking him delicious dinners every night. He offered to help but I said, "No, no, I am a domestic goddess! Hear me roar!" Unfortunately, I soon learned that man-fare is much different than single lady-fare. Pre-marriage I had enjoyed regular dinners of popcorn or grilled cheese sandwiches. Apparently neither is sufficient to feed a man belly on a regular basis. I realized I had two options: build habits based on shortcuts (frozen foods and sodium-laden seasoning packets) or learn to make healthy food. Something you should know about me is that I'm usually far harder on myself than I need to be. So that, combined with the fact that I love a good challenge, means I obviously chose the latter. Almost seven years later, I'm so glad I did. Instead of a freezer full of Hot Pockets and frozen pizzas, we have this:


It's very low on processed foods. Seth does have some ice cream because I try to let him make his own food choices. I've got some vegan Field Roast sausages and Don Lee Farms veggie burgers, but I like that I recognize and can pronounce every ingredient on their short ingredient lists. Other than those items it's mainly frozen vegetables, black beans (prepared in bulk from dried beans), homemade chicken and vegetable stock, frozen roasted tomatoes, frozen bananas (for smoothies and other treats), and various frozen meat (for Seth). The biggest offender in my eyes are those hamburger buns peaking out above the ice trays. On my to-do list for an upcoming weekend is to make and freeze some hamburger buns so that we can eliminate the preservative-laden store bought ones. (I'll provide a recipe when I do.)  So now, 6-7 years after I've built the habits and know-how to regularly fill my freezer with real food, what next? I've decided I'm going to call it my Fridge Door Project. Intrigued? Follow the jump...